Practice 3: Autolocalization
In this practice we were supposed to implement an autolocalization algorithm based on the Perspective N Points (PnP) algorithm. The algorithm is based on the following steps:
-
First, we need to calibrate our camera.
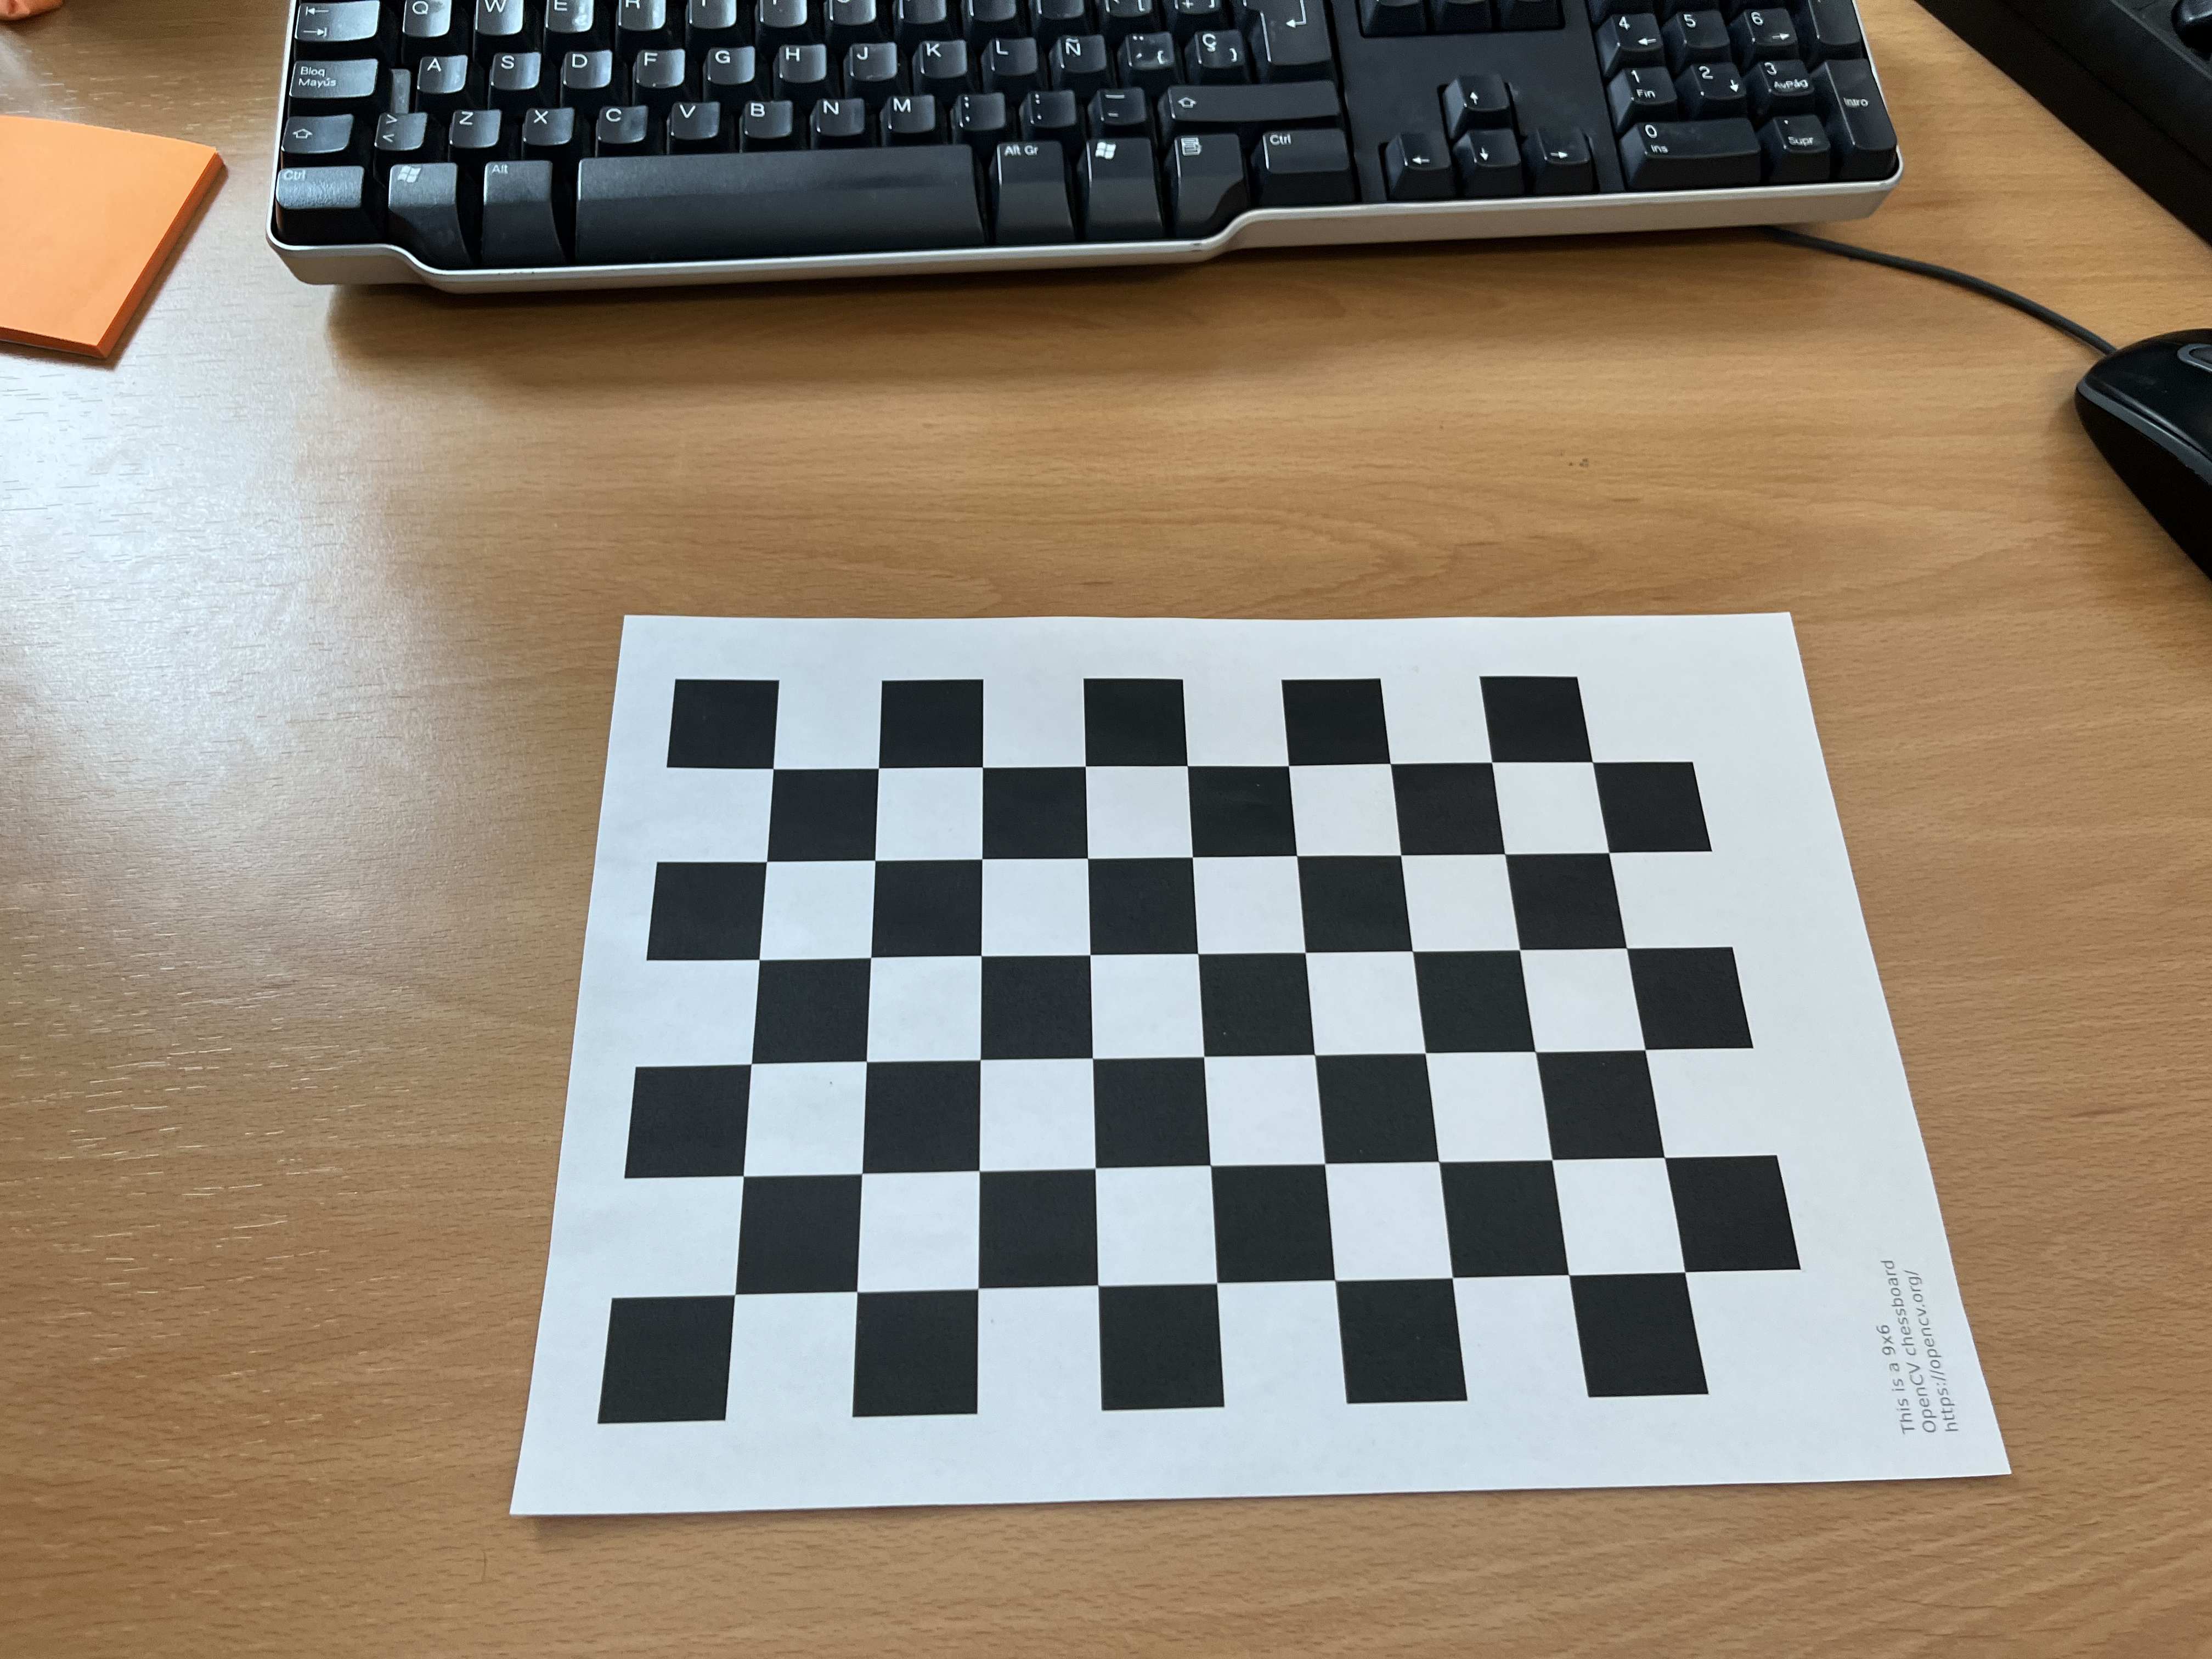
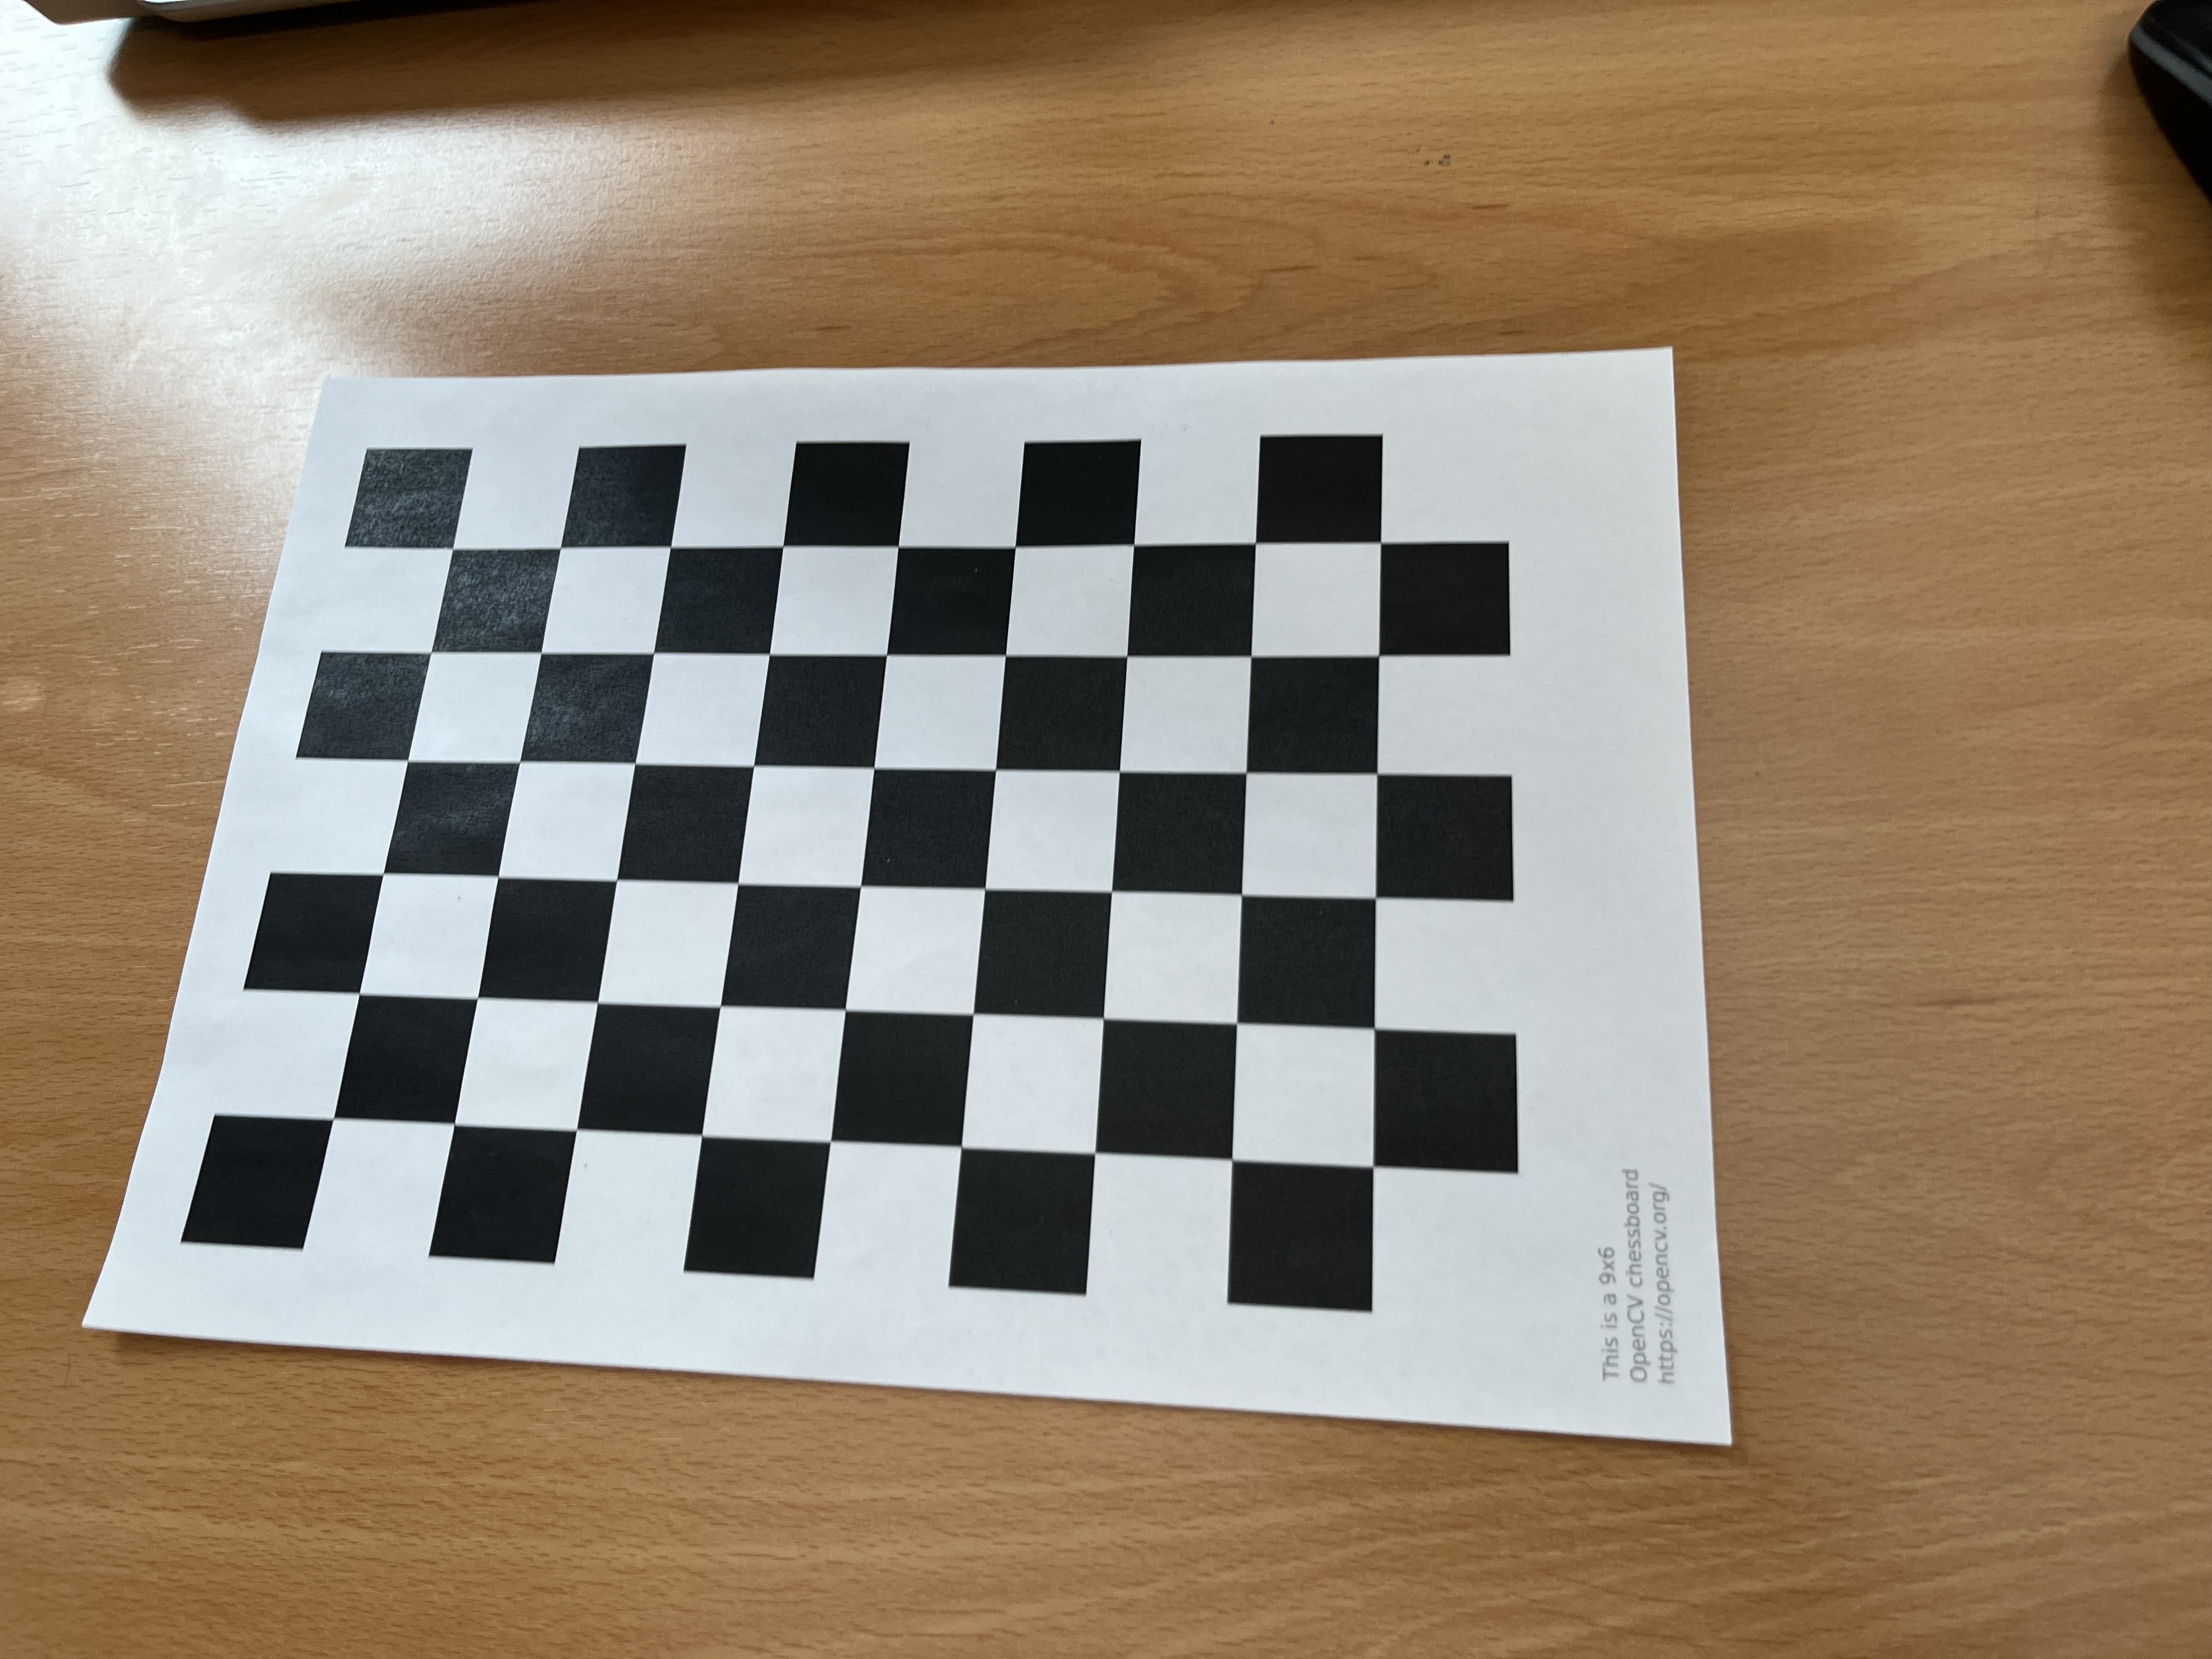
For this purpose, we will use the algorithm that we have already used in another subject of the master (3D Vision). This algorithm requieres a series of images from a chessboard taken from different angles.

In this case, we’ve used 12 images taken with my phone camera, these images have a resolution of 4032x3024 pixels. Here you can watch some examples of the images used for the calibration:

The class CalibrateCamera implemented in the CalibrateCamera.py file receives the directory all the calibration pattern images, and with its method calibrate, we’re able to obtain the camera matrix and the distortion coefficients. We can set the parameter check of this class to true if we want to check the calibration results. In this case, the method will show the projections of the coordinate axes in each of the images, as shown in the figure below:
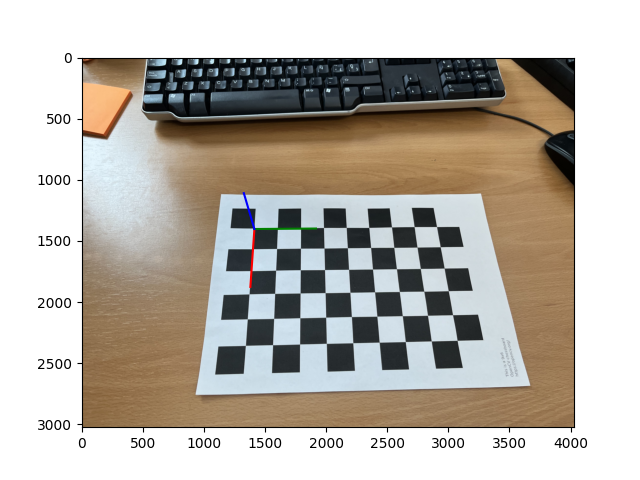
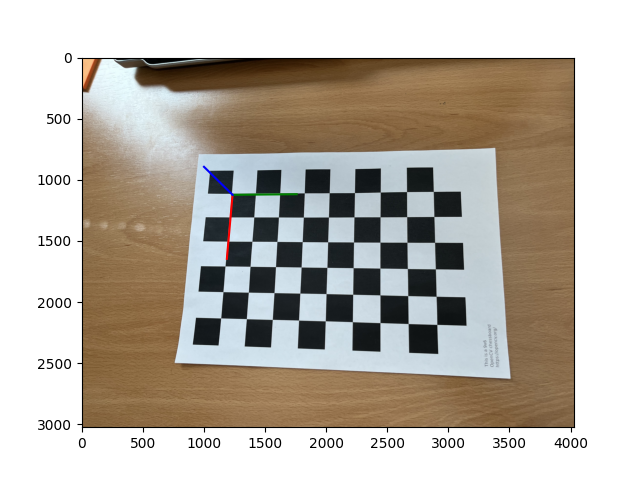
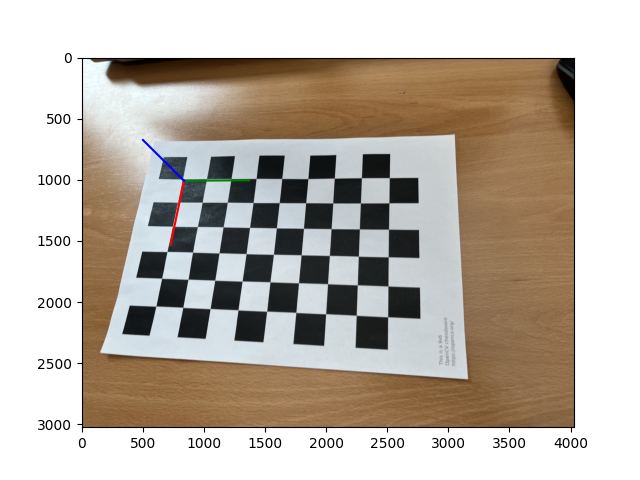
As we can see, the calibration results are quite good, so we can use them to obtain the camera pose.
-
Once we have our camera calibrated, we can start with the autolocalization algorithm. In order to do that, we need to generate an aruco marker, which will be used as a reference in the autolocalization process. We can generate the marker with the create_marker.py file, which will generate a 6x6 ArUco marker as the one shown below:

-
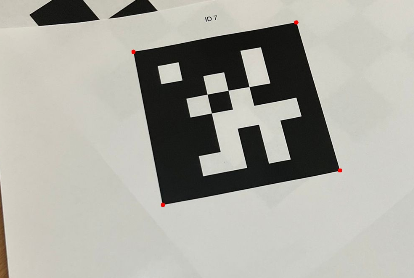
After that, we have to detect this ArUco marker in the image. In order to complete this step, the MarkerDetector class has been implemented. This class has a method called detect which receives an image and returns the corners of the marker in the image. In order to detect the marker, this method uses the aruco.detectMarkers function from the cv2 library. The detection of the marker is shown in the figure below:
-
Finally, we are able to estimate the pose of our camera by using the cv2.solvePnP function. This function receives the 3D coordinates of the marker, the 2D coordinates of the marker in the image, the camera matrix and the distortion coefficients, and returns the rotation and translation vectors of the camera. With these vectors, we can obtain the rotation matrix and the translation vector of the camera. The center of the camera is obtained as follows:
\[A = K \cdot R\] \[B = K \cdot t\] \[C = A^{-1} \cdot B\]Where K is the camera matrix, R is the rotation matrix and t is the translation vector. The center of the camera is the point C. With this calculation, we’ve finished the autolocalization process.
-
In order to test the autolocalization algorithm, we’ve recorded a video with my phone camera, and tested the algorithm with the frames of this video. The position of the camera is represented in a 3D matplotlib plot. Here you can watch the results: